
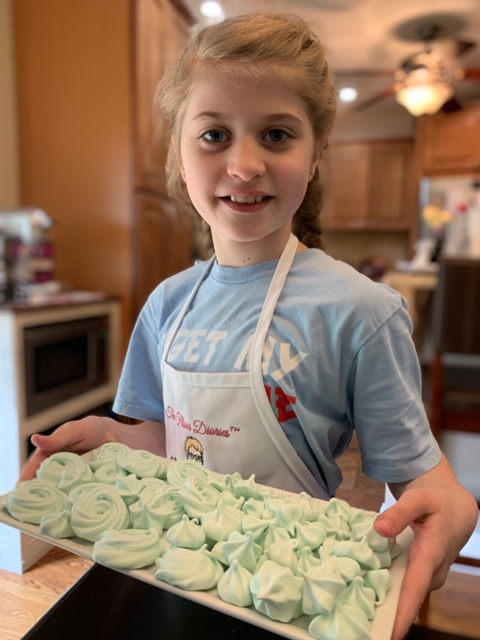
My granddaughter, AnnaLynn or Al as we all call her, and I have always been partners in the kitchen. She naturally gravitated from dusting furniture as a toddler to standing on a chair by me in the kitchen watching me bake. You can say she was born domesticated.
At about age three, she began actually wanting to add ingredients and stir the mixture, and her favorite part was cracking the eggs. I cannot tell you how many slimy eggs missed the bowl and slid down the cabinet. I can still see those liquidy egg white strings yo-yo-ing up and down as I tried to quickly erase the evidence. We eventually overcame that hurdle. With children, you don’t give up, especially if they are showing an interest. It takes patience and a lot of cleaning supplies. Her mother, my sweet daughter, was not a fan but I persisted. You see, my daughter likes a pristine kitchen and me, well, not so much.
Al and I would find alternate methods to cracking eggs. Rather than crack them directly in the mixing bowl, which she often missed, I set out a separate bowl for her to break the eggs. So, if eggshells got loose, she could spoon them out.
Now, that she is ten and a half years old, we have baked countless items together. One of her very favorites are these meringue cookies. The first time was not a huge success but rather a learning experience. We eat all of our mistakes. The next few times her skills progressively improved. Now she is on her own with meringues.
She learned some key tips during our “trial” meringue baking sessions:
- Pick a very dry day.
- Have a very clean mixing bowl.
- Not even a spot of yellow can touch egg whites.
- Have everything premeasured and the piping bag ready to go.
- Eggs must be at room temperature.
My older granddaughter, Phoebe, is our talented photographer and videographer. We rely on her expertise to make us look like professionals.
I treasure the times I have spent with both of them and look forward to more. Although we are a thousand miles apart, there is facetime that we rely on. This coronavirus has us all quarantined but we know this too shall pass. And when it does, I’ll be boarding my usual Delta flight with a suitcase full of sprinkles, pastry bags, and pastry tips as well as extra ingredients.
I hope you try this with your child or grandchild. You will never regret it!
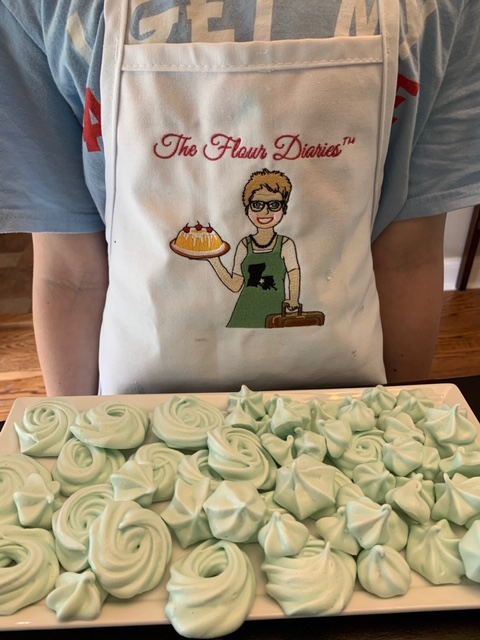
KID FRIENDLY MERINGUE COOKIES
Sweet, light and airy cookie that melts in your mouth
Ingredients
- 4 egg whites, room temperature
- 1/4 teaspoon salt
- 1/4 teaspoon cream of tartar
- 3/4 cup sugar
- 1/2 teaspoon almond or vanilla flavoring
- 1 drop gel color icing if desired
Instructions
TO DO OR CONSIDER PRIOR TO MIXING:
- Wipe your clean mixing bowl and whisk attachment well with white vinegar. Wipe and let dry.
- Separate yolks from whites. There cannot be one drop of yolk in the egg white so you may want to break each egg white into a separate small bowl. You don't want to ruin all of your eggs just in case.
- These should be made on a very pretty and dry day for optimal success.
- Make these on a day when you are not planning on using the oven for anything else for several hours.
- Measure out all ingredients right before mixing.
- Prepare your piping bag by cutting off the tip of the plastic piping bag about 1/2 inch. Drop your pastry tip in the bag so the tip is exposed on the end.
- Fold down the top of the bag and set aside.
DIRECTIONS
- Preheat oven to 200 degrees.
- Prepare 2 large cookie sheets with parchment paper.
- In your mixer using a whisk attachment, add egg whites, salt, and cream of tartar.
- Mix on medium speed.
- When the eggs appear foamy and white, add the sugar in very slowly by holding over the bowl and pouring in a small, steady stream. If you do not feel confident, pour in a stream with a teaspoon. It has to be added slowly. After all the sugar has been added, turn the mixer on high.
- Add vanilla.
- Beat until the mixture is very shiny and very stiff.
- If you are using food coloring, add that now and beat until the color is evenly distributed.
- Use a spatula to fill up the pastry bag with meringue to about three-quarters full.
- Pull the cuff up and squeeze the meringue to the bottom. You can use a twist tie or rubber band to prevent the meringue from coming out or you can just twist the top shut.
- Hold the bag with your dominant hand. Use your nondominant hand to guide the tip.
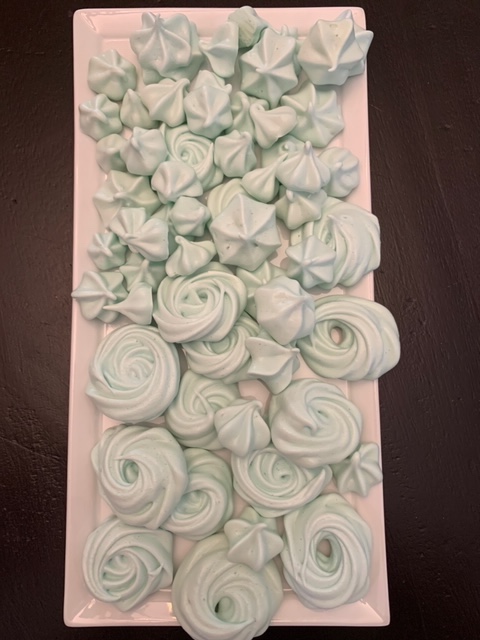
- Place tip almost on the surface of parchment paper and using gentle pressure, squeeze out a dollop of meringue, lifting the bag as you squeeze. You will make some strange shapes until you get the hang of it.
- Bake about 2 hours and 15 minutes.
Notes
These have to be kept in an airtight container. If left out, they tend to become sticky. I prefer to make them the day before I either give as gifts or serve at a party. But if you have a family with a sweet tooth, they will not last long.
“If God had intended us to follow recipes, he wouldn’t have given us grandmothers.”
-Linda Henley